How
to Install
Fuel Pump Relay Cutout Switch
on a 280ZX ('81 - '83)
Introduction:
Start to finish, it should take approximately two hours.
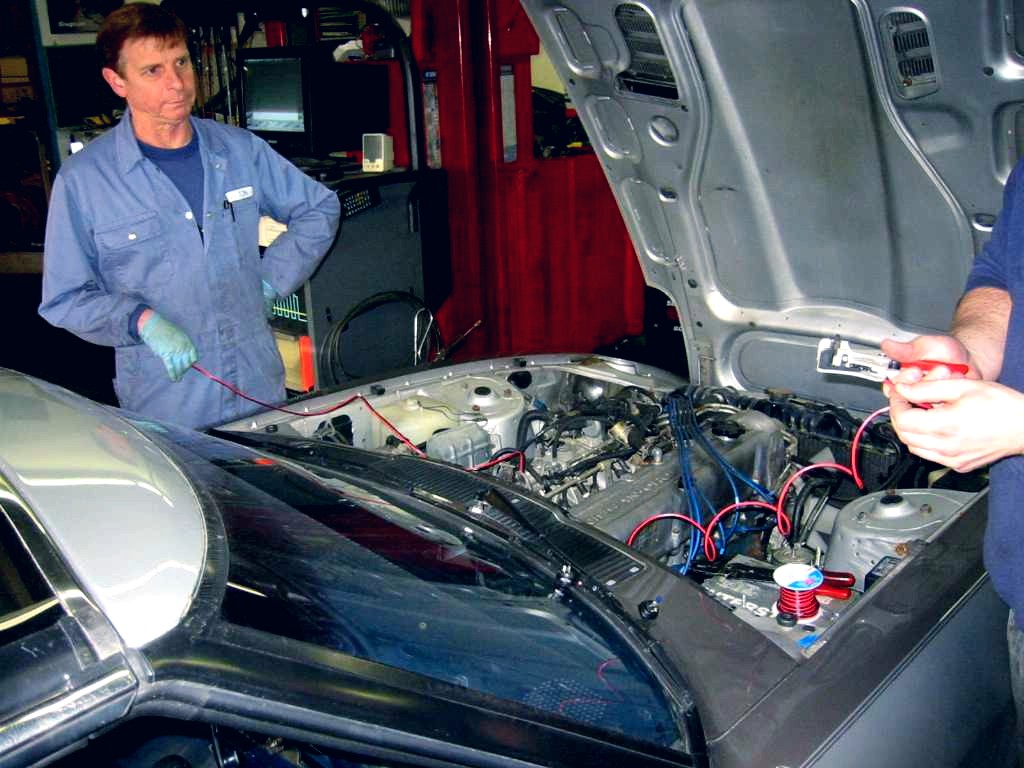
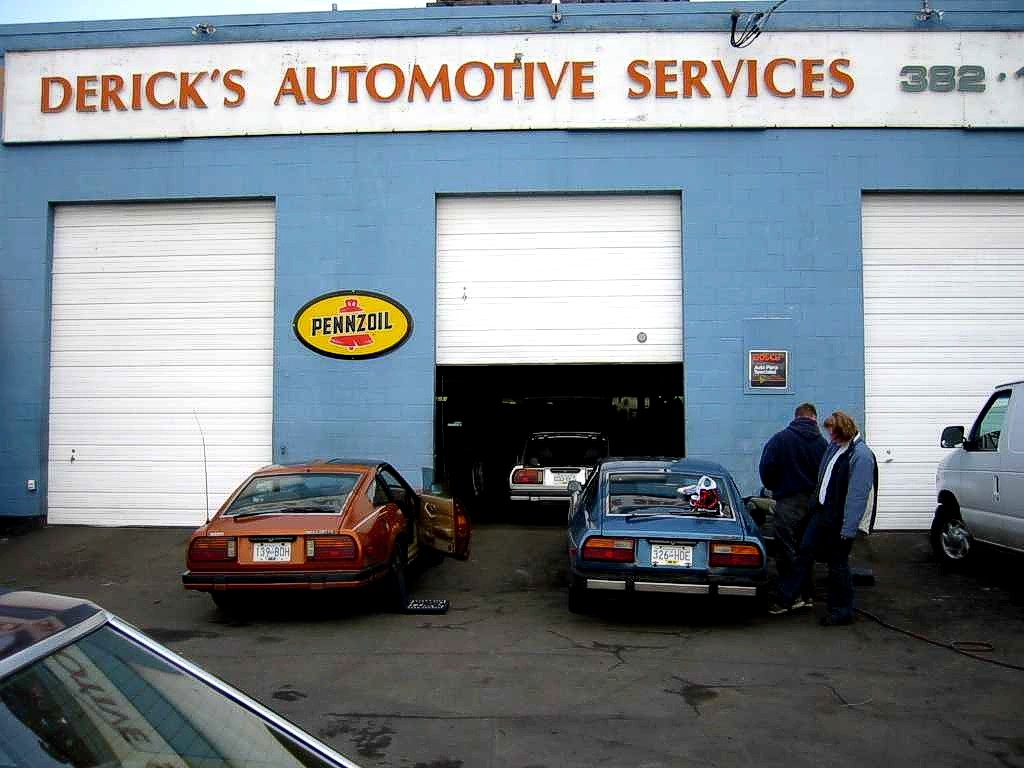
Our work party – Colin, Sue, and myself - was lucky
to be loaned some garage space at Derick’s Automotive
in Victoria, BC Canada, with Jon Clausen – fellow
club member and shop mechanic – volunteering his time
for extra assistance. If you don’t have garage space,
don’t worry, you can do this in your driveway.
Tools
and Materials Needed:
-
Wire
cutter and stripper, crimper
-
Wire!
-
Butt end connectors (butt end connectors are the tubular
ones that you put wire into both ends of, the ones that
connect to the switch are called spade connectors, not
all switches have connectors like ours did ... with some
you might have to solder the wire on).
-
Electrical tape
-
Drill with a large cone-shaped bit
-
Toggle switch (the flatter, the better)
-
Screwdriver
-
10mm wrench
-
Socket wrench (for the hard-to-reach places)
Installation:
1.
Disconnect battery (negative terminal).
2.
Loosen and remove the panel on the passenger side. (Image:
Passenger side panel removal)
3.
Remove the panel on the driver side under the steering column.
4.
Remove the glove compartment, and compartment door ~ Now you
have access to the fuel relay box ~ (Images: Glovebox1
and Glovebox2)
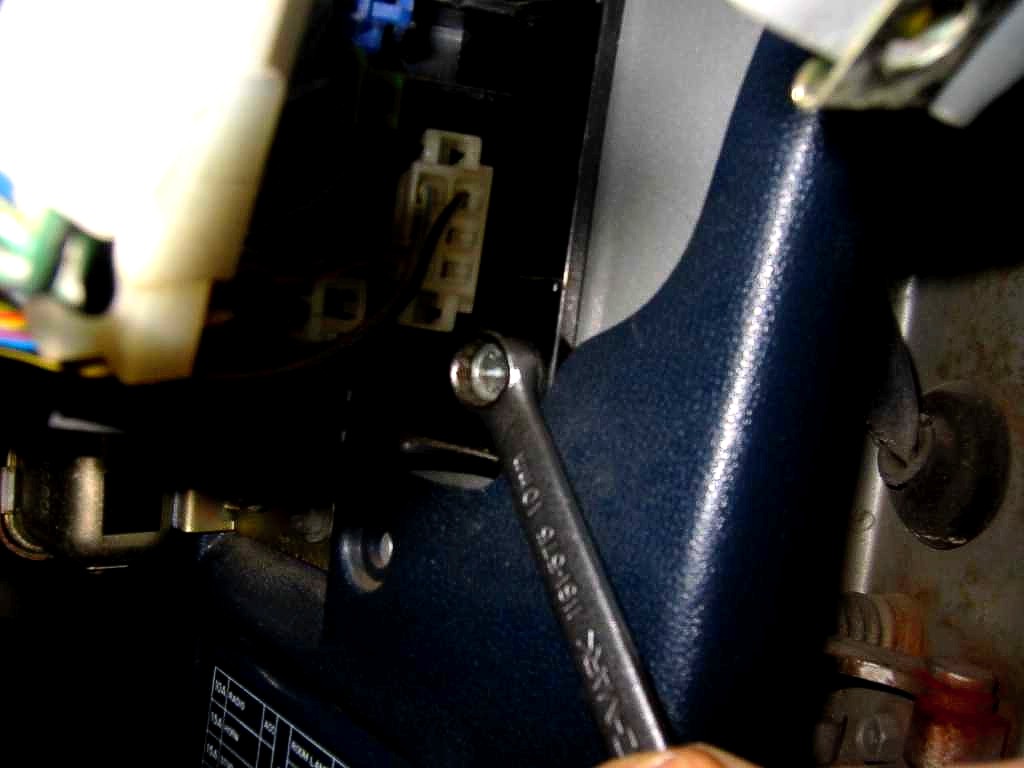
5.
The fuel relay box (this box IS the actual relay, the black
part it plugs into with the wires connected to it is the socket)
is bright green – this, applies to the ’81 to
’83 models. Consult the wiring diagram in your manual
if you have a ’79 – ’80. (Images: Fuel
relay access1 and 2)
6.
Strip about a half-inch of wire, and apply the butt-end connectors
to the toggle switch, crimp those. (It’s about ¼
inch of wire for this end, depending on the spade connectors.
Best to leave these unconnected until the switch is mounted,
Colin found.)
7.
At this point, figure out where you want to install the switch.
8.
If you choose somewhere in the stereo console area, you will
have to remove the console face to access the desired location;
if it is to be in the driver’s side, find an area that
is away from the pedals. Obviously hard plastic is the best.
9.
Drill a hole to the desired hole size for your toggle switch.
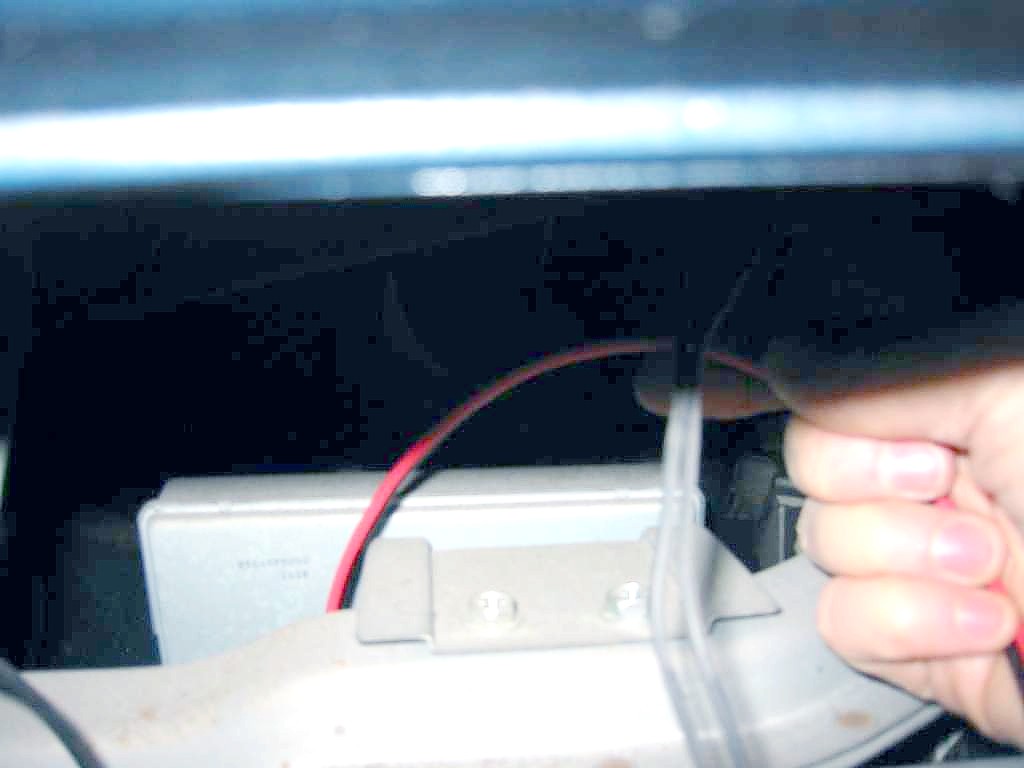
10.
Measure out a length of wire. Use the width of the car as
your guide – better to have too much than too little!
(You can always zap-strap the excess wire.) (Image: Measuring
wire)
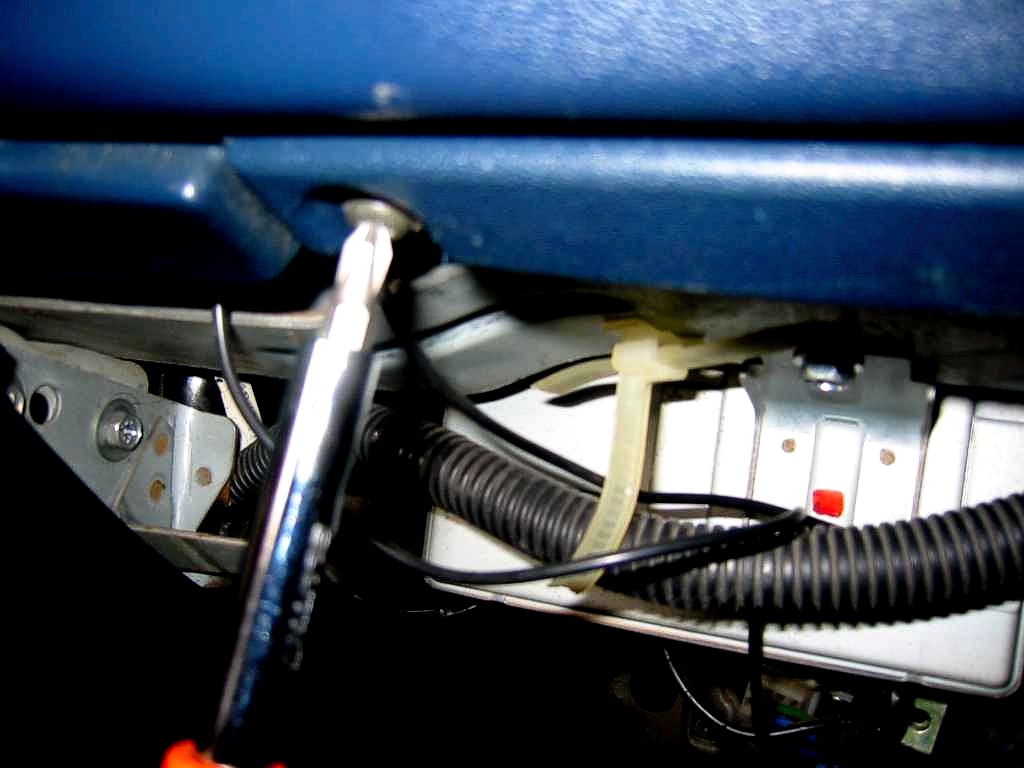
11.
Feed the wire through the hole. If you installed it somewhere
near the stereo you will have to feed the wire up behind the
glove compartment area to the fuel relay box. If you installed
it near the driver’s footwell area, you will have to
feed the wire right along the front of the heater duct that
goes in behind the center console, then over top of the right
footwell vent and over to the relay and zap strap it to the
hood release latch mounting, and a couple of little protrusions
on the heat ducts along the way. (Image: Feeding wire
behind console)
12.
Remove the green cover on the relay box, locate the fuel relay
wire – this wire in the ’81 is green-white, on
the ’82 it is blue-red.
13.
Using wire cutters, cut the relay wire – about an inch
from the socket.
14.
Strip each end of the relay wire – again about a half
inch. This is a bit tricky given the location.
15.
Install the butt end connectors - crimp the butt-end connectors
onto the wire going to the switch.
16.
Insert each section of wire to each end of the fuel relay
wire and crimp the other end of the connectors.
17.
Do a test start (with the switch on) to see if everything
works. Turn the switch off while the car is running, the engine
should die in about 10-20 seconds.
18.
Reinstall the centre console, driver side panel, glove compartment
and passenger kick panel.
19.
And you’re done!
Note:
You can remove that wiring connector block with the blue,
green, brown, white, etc connectors to make it easier to get
at the relay and that you can remove the relay socket from
the wall of the car and pull it down a bit to get easier access.
Special thanks to Jon Clausen at Derick’s Automotive
in Victoria, BC for volunteering his time and the shop space,
and for Sue who showed us how, and to Colin for knowing what
electrical bits and pieces we needed to get!
Click
on each photo for a larger image |