You
will need:
-
Small or Large Flathead Screwdriver, depending on technique
to push hangers from rubber supports
- 12
mm Open End Wrench or Torx T-30 (to fit on ratchet)
-
14 mm Socket (deep and shallow)
- 15
mm Socket (deep)
-
Ratchet (and extension if you've got it)
-
Hammer to persuade any recalcitrant nuts or an impact
wrench if you're in the big leagues
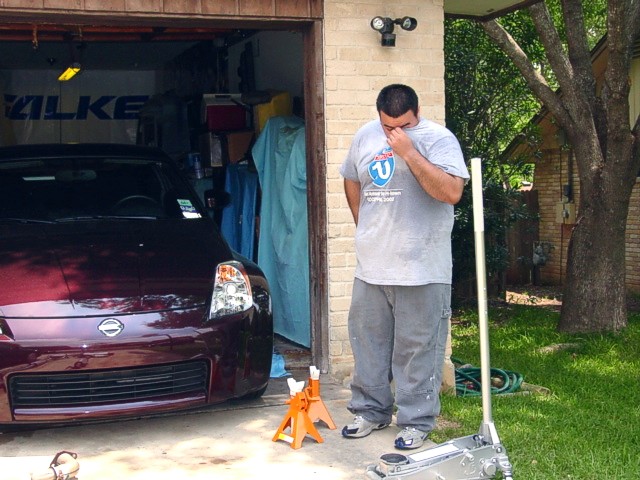
- Access
to a lift is best, but a couple sets of jack stands
and a floor jack will do
- An
extra set of hands (another warm body)
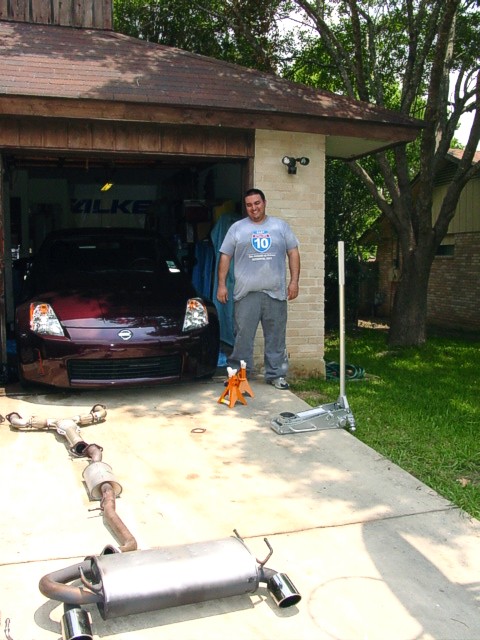
1.
You can do the install by jacking up just the rear end,
but it will be easier to jack up both ends. A lift will
easily cut 45 minutes to an hour off the installation time.
If you use the jack method, make sure you are on a level
surface and your jack stands are properly placed. The install
takes about two hours if you use the jack stand method.
2.
Remove the nuts from the two flanged pipe joints and the
flanges that attach to the cats with the 14 mm socket. Save
the four nuts and two gaskets from the cat flanges, you
will use them to attach the new pipes.
3.
Remove bolt holding the rubber hanger from the muffler intake
pipe using either the 12 mm open end or the Torx wrench.
4.
Remove the center part of the original pipe. Remove the
rubber hanger from the pipe. You can use the small screwdriver
to stretch the rubber enough to slide over the retaining
nipple on the hanger. A little lubrication helps too. Alternative:
use the large screwdriver to pry against the exhaust.
5.
Slide the muffler assembly out of the two rubber hangers,
again you can use the small flathead screwdriver to work
the rubber support off the hangers. Your extra set of hands
will be helpful for this step.
6.
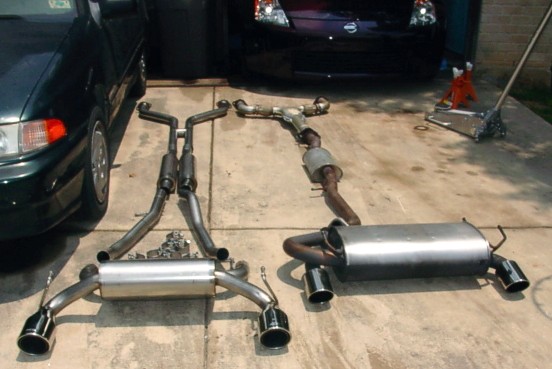
Remove the Y pipe from the cats.
7.
Start at the cats and attach the left and right flanged
pipes to the cats. The pipes are clearly marked which is
left and which is right. If they're not marked, it will
be obvious which is which when you test fit them. Leave
a little play at the cat flanges by not tightening the nuts
all the way down.
8.
Slide a pipe clamp over the end of each of the pipes.
9.
Pre-assemble the H pipe -- be sure to use the one small
clamp for the H. Do not tighten the clamp. Slide the H pipe
onto the two pipes coming from the cats.
10.
Slide a pipe clamp over the end of each of the pipes coming
from the H pipe.
11.
The longer resonator pipe with the small bend goes on the
right -- the bend goes up and to the right. The shorter
resonator pipe slides on the left.
12.
Slide a pipe clamp over the end of each pipe.
13.
The pipe with the hanger toward the rear of the pipe goes
on the right. You'll have to twist this around a bit to
get the bend up over the sway bar just right -- you'll have
a half-inch clearance over the sway bar. The pipe with the
hanger toward the front goes on the left. This pipe goes
in the original pipe path under the sway bar. Insert the
hanger into the rubber support.
14.
Slide a pipe clamp over the end of each pipe.
15.
Get your friend for this one. Slide the muffler inlet pipes
onto the two pipes and insert the hangers into the rubber
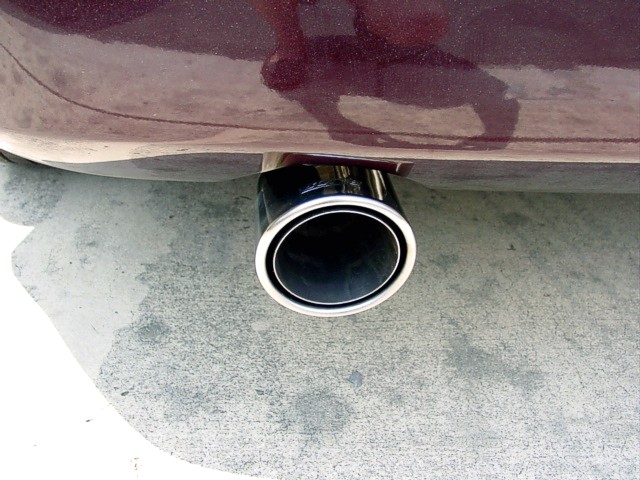
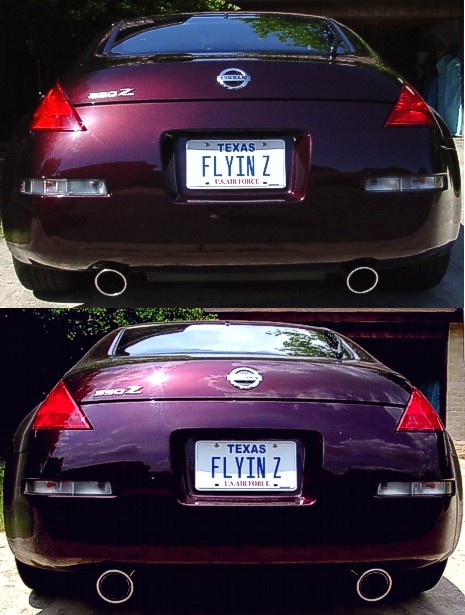
supports. Make sure the exhaust tips are correctly aligned.
16.
Slide the rubber support onto the remaining hanger on the
right pipe and reattach with the original bolt (use the
Torx wrench).
17.
Check all clearances on the underbody and make any adjustments
needed. Pay particular attention to the right pipe section
around the sway bar.
18.
Pull the two pipes of the H-pipe together and tighten the
H-pipe clamp with the 15 mm socket. Make sure the pipes
are lined up and the clamp covers the slots.
19.
Starting at the muffler intake joints, attach the clamps
using the 15 mm socket. The clamps should fully cover the
slots in the pipes, which means the clamp bolts will be
perpendicular to the ground. Work your way toward the cats,
tightening each set of clamps to 32-35 foot-pounds. As you
tighten, make sure your clearances on underbody parts are
maintained. You may have to make some adjustments by twisting
a section slightly or pushing up on a pipe section a bit.
20.
Tighten the pipe flanges to the cats with the 14 mm socket
using 32-35 foot pounds. And you're done!
NOTE:
It will take about 100 miles to burn in the exhaust, so
expect to see a fine white smoke for a bit.
Thanks
to Bill (ZWindsor) for a couple corrections and suggestions.
Video
clip: Driving with Borla;
redline shifts, downshifts, starts and stops.
Warning: 2.27MB mpg;
recommend right mouse click on link,
select Save Target As, and save
to
your hard drive for repeated viewing.
Borla
Video