-
Metric
socket set, 3/8" drive
- Ratchets,
3/8" drive
- Extension,
3/8", 6" long
- Metric
box/open end wrench set
- Flat-head
screwdrivers, various sizes
- Pliers:
needle-nose, standard
- Allen
wrench set
- Dikes
to clip zip ties
- Trays
to hold nuts and bolts
- Zip
ties: large, medium, small
- If
using a boost gauge: vacuum line: 1' and connector
- Shop
rags of course
- Optional:
Grinding tool with 60 grit drum to reshape the engine cover
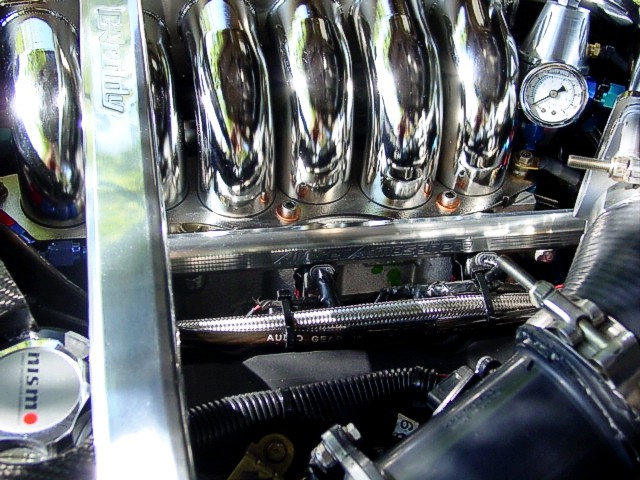
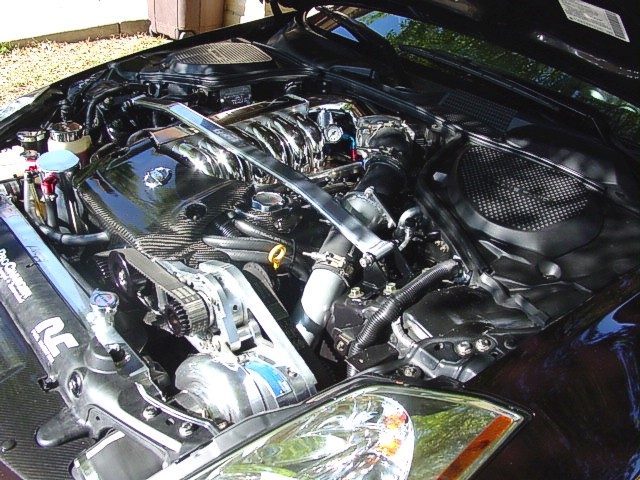
NOTE:
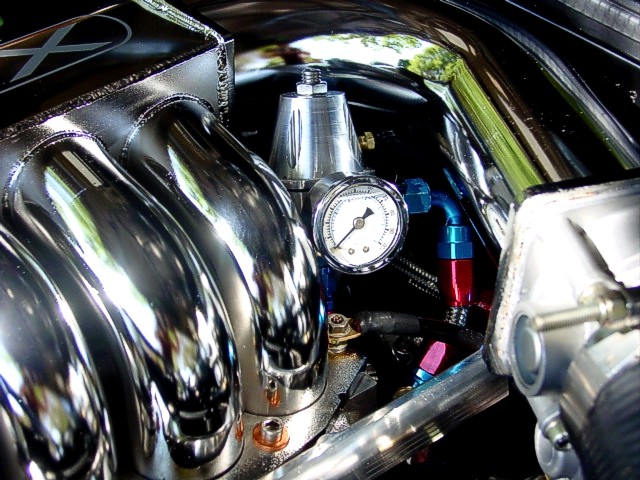
These photos also show the mounting of the Altered Atmosphere
Motorsports Fuel Rail Kit fuel pressure regulator with the
Kinetix SSV - see related article AAM
Fuel Rail Kit - you can also see stock plenum removal
photos at the beginning of the article
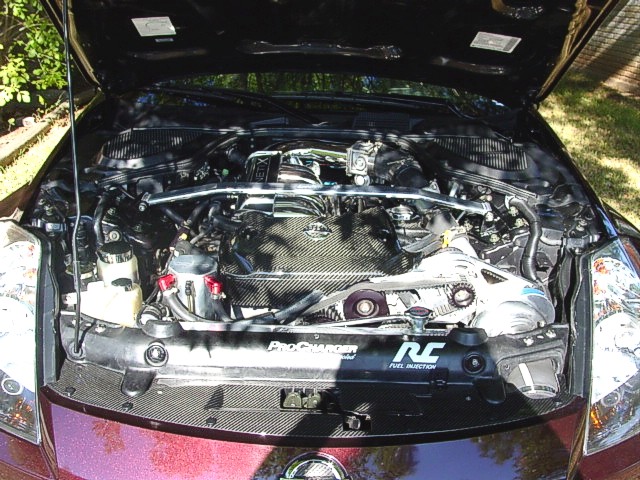
Procedure:
1. Remove strut tower bar
2. Remove engine cover
3. Remove intake piping from throttle body - completely removing
an entire section is recommended - you may have to remove
the MAF connector as well, depending on your setup and what
you remove
4. Remove all wires and hoses attached to the upper plenum
- there are two coolant hoses going to the lower part of the
plenum near the throttle body that will be easier to remove
after the upper plenum is loose
5. Remove all bolts and two nuts holding the upper plenum
in place - 10mm
6. Remove upper plenum - here is where you can easily remove
the two coolant hoses going to the bottom of the plenum near
the throttle body
7. Remove the hose from the front of the lower plenum
8. Remove the bolts from the lower plenum - 6 in the center,
and two nuts outside center front and rear - 10mm
9. Remove the lower plenum and cover the intake manifold with
shop cloth
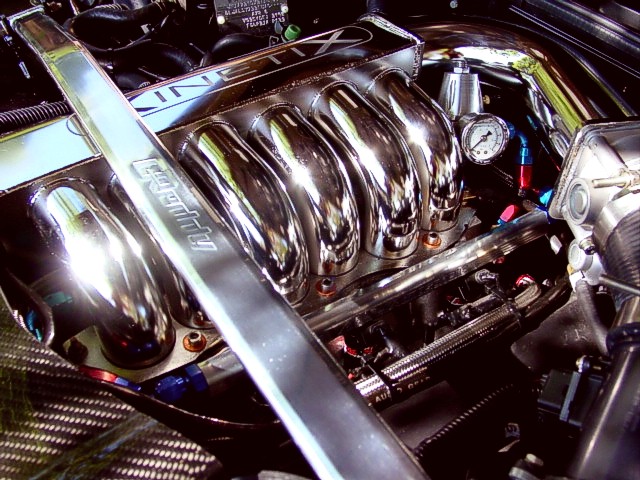
10. Remove the throttle body from the upper plenum and attach
to the SSV intake
11. Attach the supplied connector between the coolant hoses
that previously went to the bottom of the upper plenum (shown
in lower right corner of top photo on right side)
12. Attach the EVAP control unit upside down to the bracket
on the SSV intake
13. Insert the passenger side intake mounting screws and carefully
position the intake for mounting
14. Using the supplied allen wrench, get the passenger side
screws started (use care to avoid cross-threading the screws)
15. Tighten all six mounting screws and the two end nuts (use
original nuts) as outlined in the supplied instructions
NOTE: You can't use a torque wrench so you'll
have to estimate proper torque - around 9 foot-pounds should
be adequate
16. Attach the throttle body electrical connector
17. Attach the intake ducting and MAF sensor electrical connector
18. Attach the stock S-curve hose to the rear connector on
the intake
19. Attach the hose that previously went to the front of the
lower plenum to the center connector on the intake
20. If using a boost gauge, install the front connector and
then boost gauge vacuum line
21. If you want to use your engine cover, you will have to
reshape it around the new intake lines - I used a Dremel with
a 60 grit sanding drum to shape it to fit
- I set the shaping lines using electrical tape - you will
not be able to use the rear bolt holes on the cover, so shape
those out on both sides - reinstall custom shaped engine cover
22. Reinstall strut tower bar and step back and admire your
handiwork!
|