| |
|
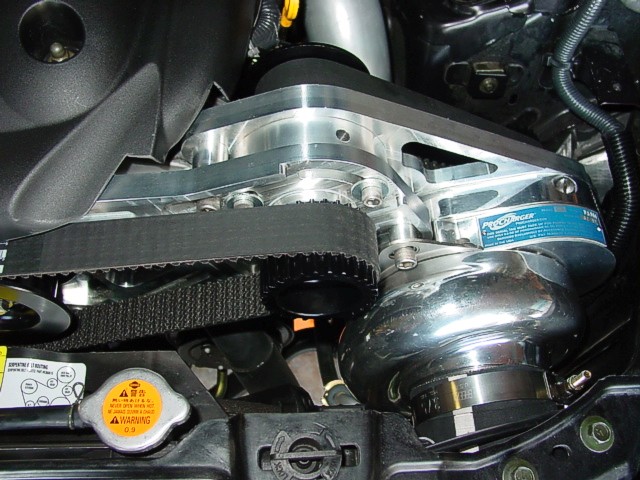
The
Final Product - 350+ rwhp |
| |
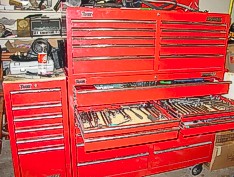 |
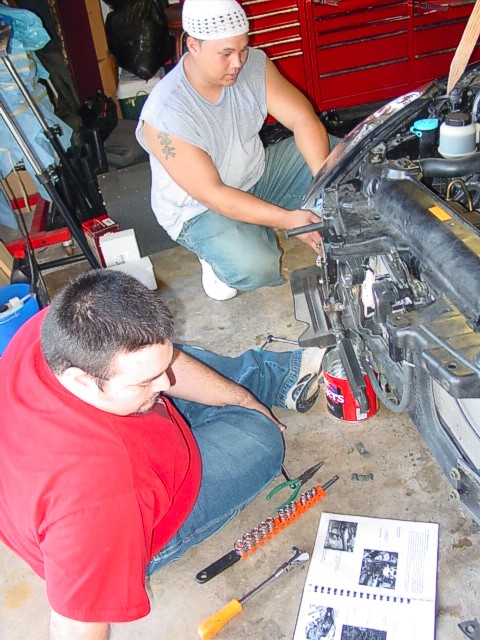
A
good repertoire of tools is a plus |
| |
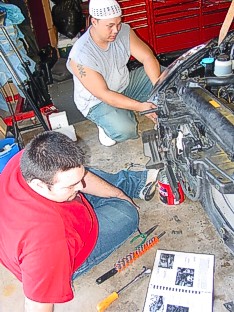 |
Special
thanks to my two
ace mechanics, Rick and Bryan
(it would have taken me forever without them) |
| |
 |
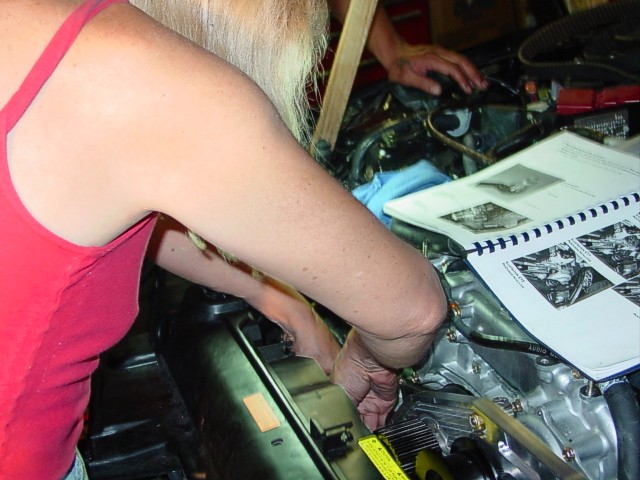
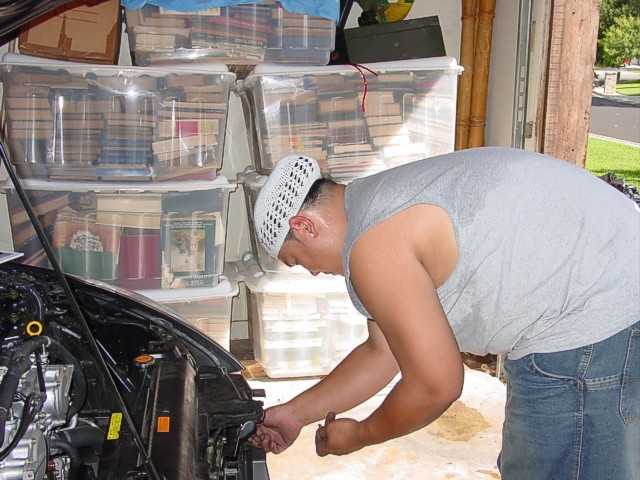
Installation
is the second phase |
| |
|
| |
|
| |
|
How
to Install
ATI ProCharger (supercharger)
on a 350Z ('03 or '04)
Preface:
The Owner's (installation) Manual supplied with the ATI
ProCharger is very complete (61+ pages) including photos
for almost every step, so the information here is intended
to supplement or clarify errors or omissions in the manual.
If you print out the information (a Word file is included
at the end of the article for downloading), then make notes
in your manual at the appropriate spots to reference these
installation tips, all should be well. If you DIYers run
into any snags in your installation, you can e-mail me at
Tere@ZChickz.com.
The manual is divided into three general phases: preparation,
installation, and tuning/maintenance.
Caveat:
Before attempting this installation, you should fully understand
how intake, fuel, electrical, and PVC/vacuum systems work
on the 350Z. One small misstep or oversight could result
in disaster. This sort of installation is not one to be
rushed—a good installation takes patience and time.
Your first 350Z ProCharger installation will take a good
16 to 20 hours or more depending on how mechanically adept
you are. Given enough time, even a novice could install
the ProCharger kit successfully. For this particular installation,
three of us worked on it, and all of us are relatively familiar
with automotive mechanics. Some parts of the manual require
a good bit of interpretive analysis (as in figuring out
what ATI is trying to say in the manual), and we did re-engineer
a few things.
Tools
and Materials Needed (the manual also lists items
needed, but this list is more complete):
Other
Items Possibly Needed:
- 6
NGK LFR6A-11 spark plugs (IF current plugs
have more than 10,000 miles or more than a year old)
- Fuel
filter (if it has more than 30,000 miles on it)
- Various
gauges: wideband O2, fuel pressure,
and boost
- Depending
on how vacuum lines are routed, you may need additional
3/16" hose and in-line connectors
(we needed three feet more for the run to the EMFU in the
glovebox)
- Electrical
T-connector for FMU ignition tie-in (use in lieu of manual's
method)
- High
quality electrical connectors (supplied connectors are not
highest quality)
- Soldering
iron and rosin core solder if you choose to solder your
electrical connectors
- Self-tapping
screws for power steering cooler remount
- Oil
drain plug with a thicker head
Cautions:
- Do
not install on Z with other than factory compression ratio—consult
ATI techs
- Do
not install on a badly worn engine (repeated use of NOS
can lead to premature engine wear and failure)
- Engine
damage can result if PCV/vacuum lines are misrouted/misconnected,
or crimped
Note:
You will find that the kit contains extra parts that are not
addressed in the manual. Some of these parts are for optional
connections. Others, at this point after installation, are
for completely unknown uses.
Phases
(click on a link):
|
Click
on photos for a larger image
Back
to The Garage |
Have
some mod installation tips
or you-fix-it help?
E-mail
info to
Tere
|
| |
| |
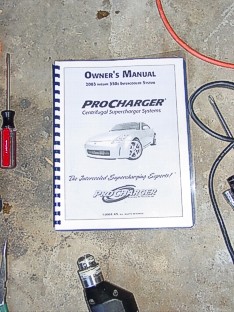 |
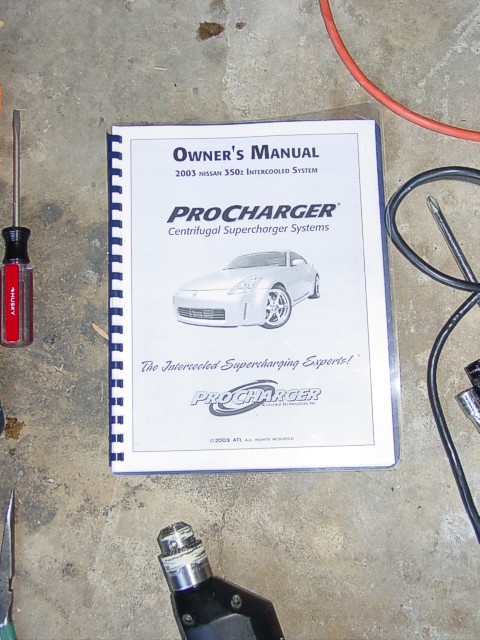
ProCharger
Installation Manual |
| |
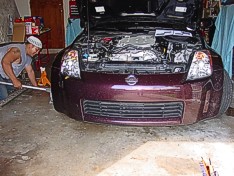 |
350
in the operating room |
| |
 |
Preparation
is the first phase |
| |
 |
Tuning
is the final phase |
|
| |
|